~ by Warren James
Have you ever shot a bride or grooms’ wedding details and thought “let me just get this out of the way so that I can get onto the important stuff”? If so, then this article covers the area of photographing wedding details and might be just for you!
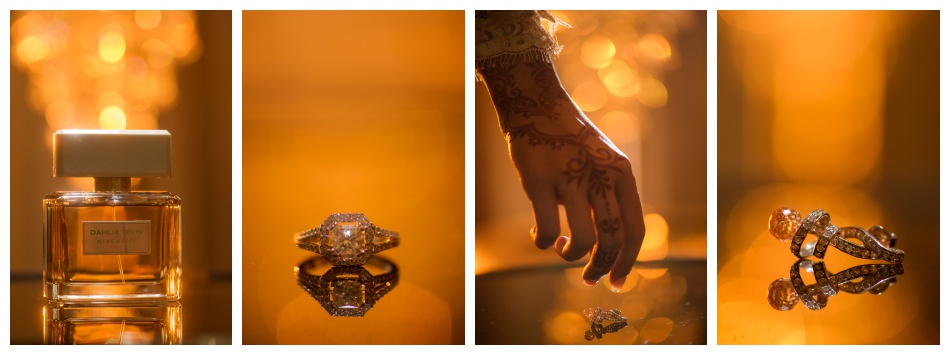
“At the next wedding, I took a tungsten gelled SB900 Speedlight, put it on a low power setting, underexposed my frame, added a bit of bounce flash onto my object and viola… a detail shot with great depth and atmosphere.”
Wedding detail shots to tell the Wedding Story:
As each wedding passes I became more aware of telling a complete story of the wedding day in a unique and artistic way. I believe that what makes a good wedding photographer great is being able to tell this story in an honest and true manner that reflects the wedding day in a way that your clients would appreciate and relate to for many years to come. This takes practice and skill. Over and above portraiture and event photography this often requires us to have the same skills that a landscape, architectural or product photographer would have.
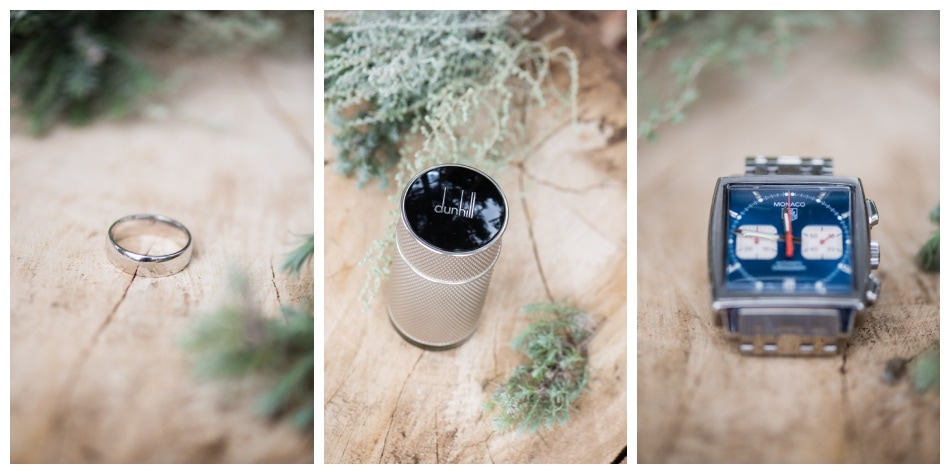
With that, I noticed a huge gap in my game. I started to identify a part of the wedding day that I needed to sharpen up on, detail shots. I had fallen into the same old rut of doing all my detail shots the same way, I would think to myself “let’s just get it out of the way”. I have since decided, “Just because I don’t have a natural inclination to make a ring look spectacular should not mean that it might not be important to my clients.” I did some research and started taking notice of opportunities to create great detail shots. Here are some of my findings.
Using Speed Lights and LED’s:
Danie Bester helped me break the mold in dead-beat detail shots by sharing this great tip with me “set up a flash for backlight; shoot into a warm light source, or shoot a tungsten flash into the background of your detail shots to create some ambiance while using bounce flash to light your object from the front”. 
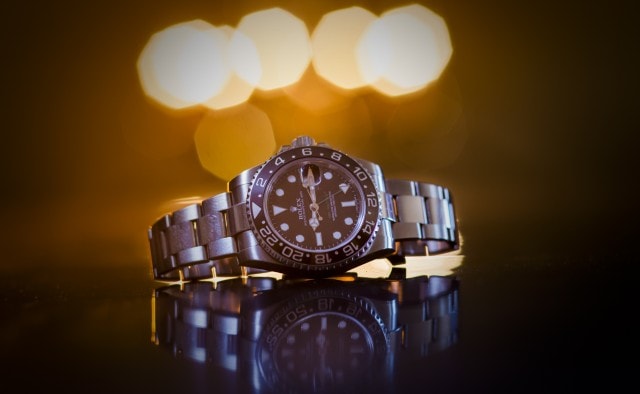
This sample image was created at one of our wedding photography workshops, where Danie placed the Rolex on a table in front of a chandelier; then shot a tungsten gelled speed light from the back for rim-light and added a bounce flash from the front. Simple and effective!
At the next wedding, I took a tungsten gelled SB900 speed light, put it on a low power setting, underexposed my frame, added a bit of bounce flash onto my object and viola… a detail shot with great depth and atmosphere. It only took a couple of minutes to set up and the results were 100 times better than my regular go-to routine.
A few weddings later I had this technique under my belt so I decided to start experimenting with other colour gels, white balance settings, and continuous LED light. I found the options to be endless and still have loads of fun with this technique today. I especially like to use this technique if I am shooting a funky wedding couple that has chosen a strong colour theme in their wedding.

Reflective surfaces:
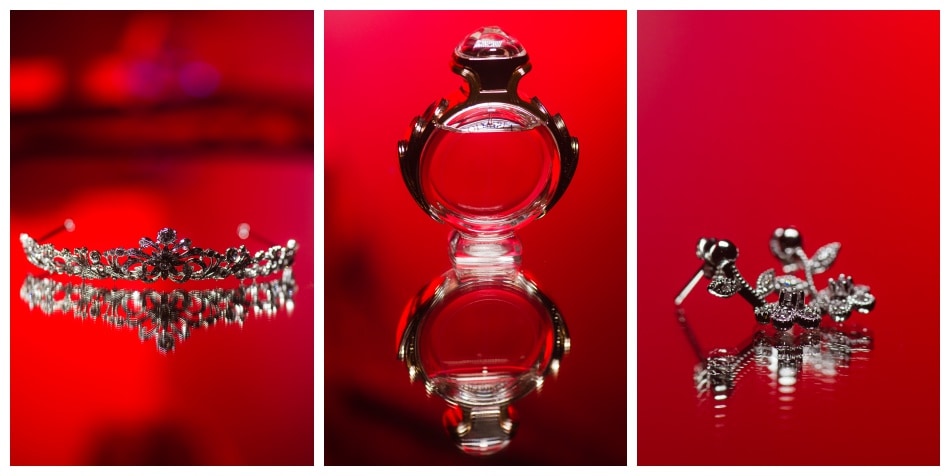
I decided that if using lights and colours worked so well let me experiment with different surfaces to place my objects on. I found a tutorial online where the guy used the glass surface of an induction stove-top and the results looked interesting. Since then I have used mirrors taken off of venue walls, glass table tops, pieces of coloured perspex and other stuff to make my details look as if they are floating in space.
Details support details:
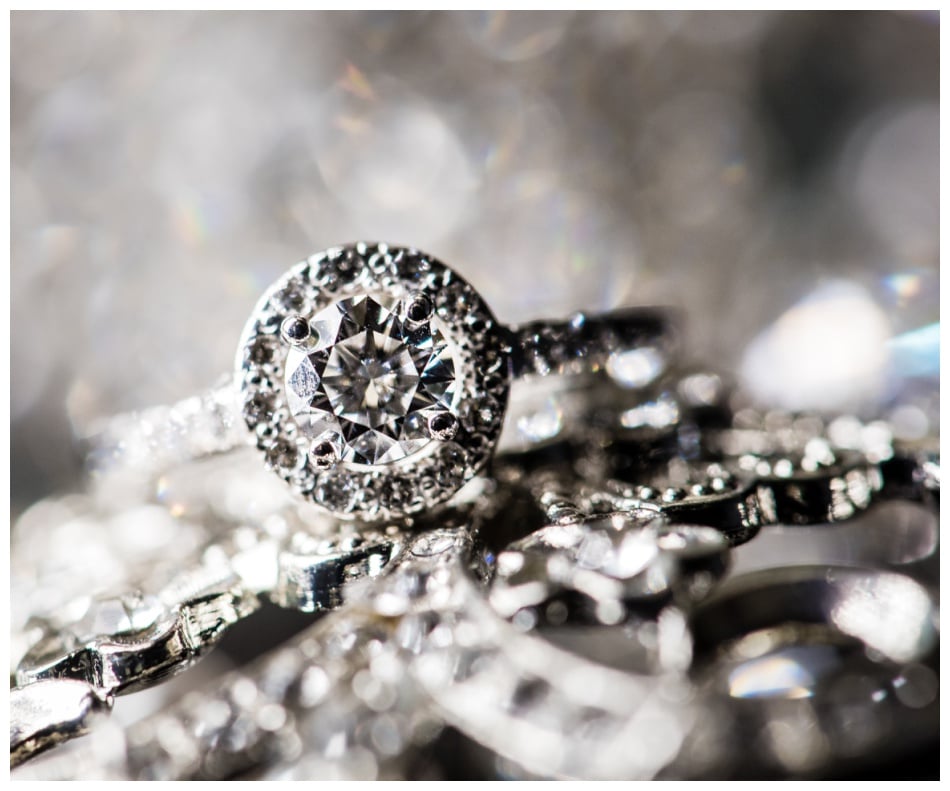
I find that often times a bride has spent lots of time and effort in choosing the jewellery and accessories that she will be incorporating in her day. If I find that her items match well in styling then I will use some details to embellish others from the same wedding. If the stationary looks really interesting I might include that in her details shots as well. When you play around with macro photography you start seeing little worlds inside of other little worlds. Sometimes the feathers of a hat make the perfect backdrop to a pearl necklace or diamond ring. This takes some experimentation and trial and error but can pay off some really fun and rewarding results.
Window light:
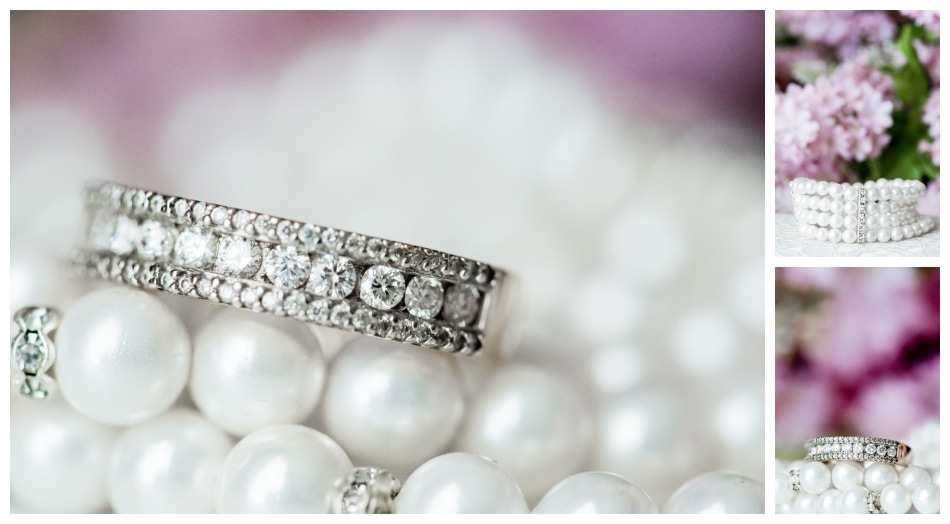
While researching work on detail shots I went back to one of my all time favorite wedding photographers Susan Stripling. Susan is a master of understanding light and using it to craft fantastic compositions. Susan uses mostly side lighting that is provided by a window. Studying her work taught me the value of shooting F11 when using your macro lens. If I find a room with a strong directional light I know that I am in for a good time with details shots; especially when it’s a small window with little other light coming into the room (the type you might find in a bathroom).
Natural surrounding:
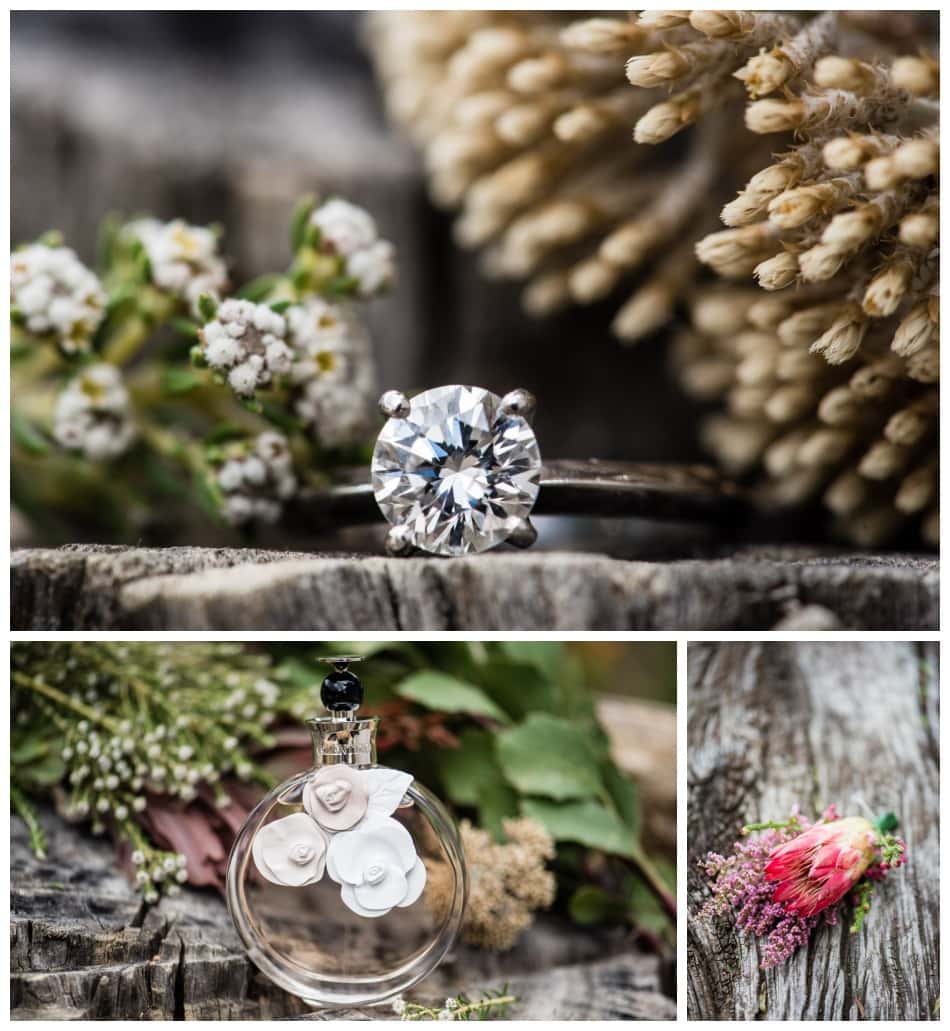
As I expanded my detail photography to include more techniques I realised that not all weddings are complimented with colour gels or even strong directional lighting. I am always trying to make myself more sensitive to my surroundings as well as my client’s needs. I find that sometimes a simple technique of using a scrim to soften the harsh sun outside in the field works perfectly for my client’s styling and taste. I now pay attention to things like a curtains tie-backs, the magazine lying on my client’s table or the unique flora of the geographic area that I am shooting in. If I find something that will suit my clients taste I will use it.
Over and above all that I learnt so far about photographing details two things become very apparent to me:
1) There will always be new things to learn
I don’t ever want to put myself in the position again where I accept mediocrity just because I don’t know any better. I believe it is important as a photographer to always keep learning and expanding on my skills so that my own creativity and passion is expanded. I know and accept that not every wedding will be a breakthrough in terms of what we achieve on the day and there will always be days when you are on better form than others. This, however, should not be an excuse to stifle development in our craft.
2) Prioritise your client’s taste and needs above your own curiosity
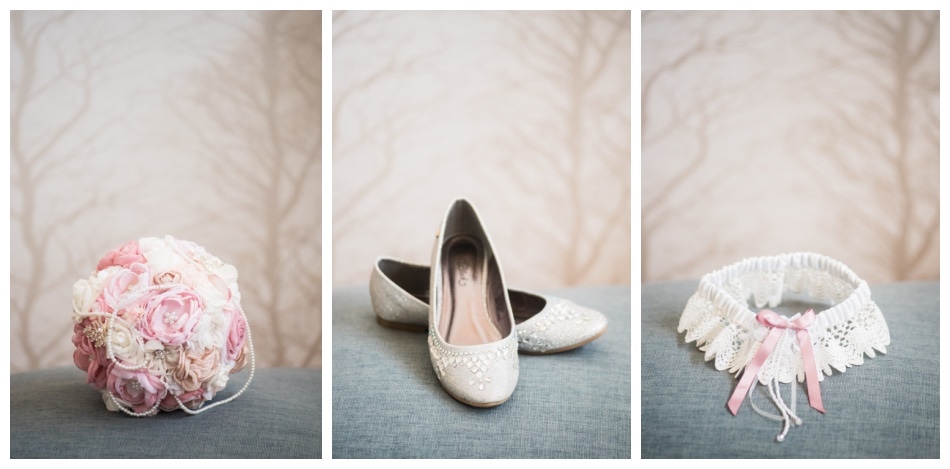
Sometimes my clients tell me that they have no need or desire for images of which shoes or perfume they wore on the day. My first obligation is towards them and I try my best to gauge what is most important to them on their wedding day. The I shoot accordingly.
I hope this article has inspired and challenged you to go out and experiment with your skills and imagination the next time you have to photograph your clients wedding details.
To view more of my work visit Warren James | Wedding Photographers.
Interested in learning more Wedding Photography techniques?
If you would like to step up your wedding detail shots, and other techniques, make sure that you book for DPC’s next Wedding Photography Course with me and Trompie van der Berg. Feel free to contact the DPC Office if you have any questions, or simply leave a comment below and we will get back to you!


Great information Thanks !
Love the detail you have got in the photographs, I presume you have used f8 or around there?
Thanks for the kind words Andrew and sharing your technique!
Really good article there. I take a small mirror with me, led light strips for background bokeh and use a mix of LED torch light and flash plus daylight if available.
Thanks, very thought provoking!
Thank you Warren this is a great article. I will post 2 photos of a wedding i did on photo critic next week. Would love to get your comment on it. (I already posted for this week.) Have a great week.
Regards
Sascha