Here is some feedback from our 5-day Wedding Photography Workshop, which took place earlier this month:
On day one and day two of the wedding photography course, we focused on the commercial and marketing side of wedding photography, including developing a personal style and other creative issues. On day 3 we had a shoot covering various basic as well as creative lighting techniques; from working with natural light to more elaborate flash and artificial lighting setups. On day 4-5 we covered digital workflow; from image selections to editing, and creating wedding albums. Our main focus is to establish consistency and accuracy without sacrificing creativity by using the latest and greatest editing software, presets and online services.
The “wedding shoot” is really the highlight of the wedding course and I would like to share some of the techniques and images we’ve created:
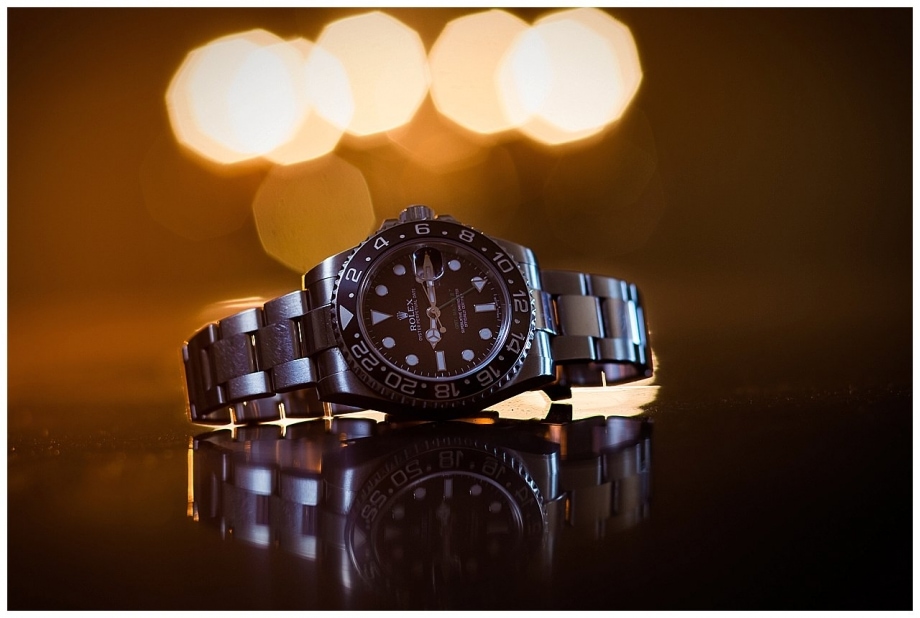
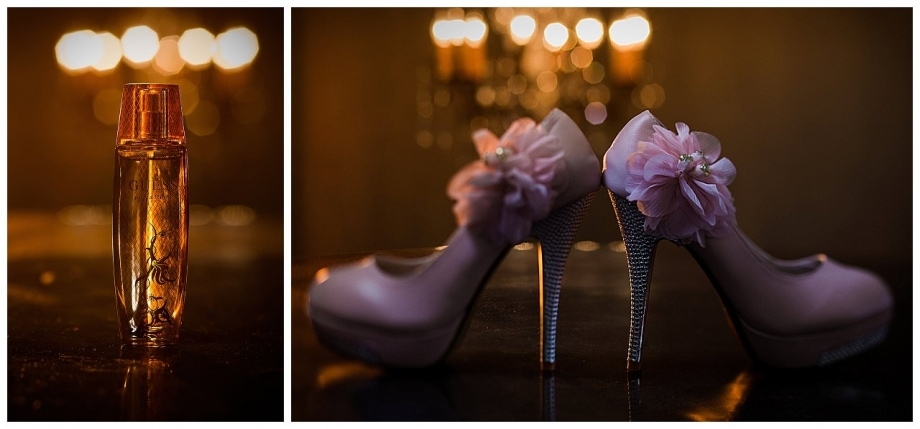
Back-lighting for Detail Shots
Back-lighting is most product photographers favourite lighting setup, whether you’re using natural light or flash. After demonstrating to the class on how to use natural window light, I showed how easy it is to use flash to achieve very dramatic results. For the images below, I’ve placed an orange gelled speedlight behind some of our dummy accessories and then bounced another off camera flashes onto the ceiling for fill.
Ring light for bridal Head-shots
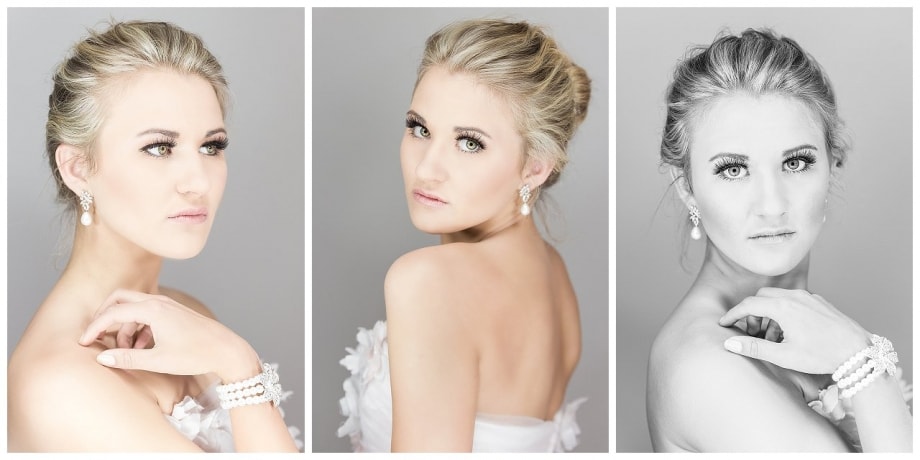
For soft bridal portraits, we used a ring light and a projector screen for a clean background. Shooting through the ring light helped us to create soft and flattering bridal portraits. We are currently in the process of manufacturing our own DPC brand of ring-light and are already on our third prototype, which will be very light and portable. I will be posting sample images as soon as we get it back from the manufacturer.
“Window Light” Portraits of the Groom
Window light portraits of the groom is a favourite amongst wedding photographers. It is quite dramatic while also adding a storytelling element. The room I chose to photograph the groom in had blinds in front of the window, but unfortunately, there was very little sunlight coming through. We, therefore, placed a speedlight, covered by a shoot-through umbrella on a stand, just outside the window, facing into the room. Placing a medium silver reflector on a chair behind the groom, positioned just outside camera frame, provided sufficient fill and definition from the back. 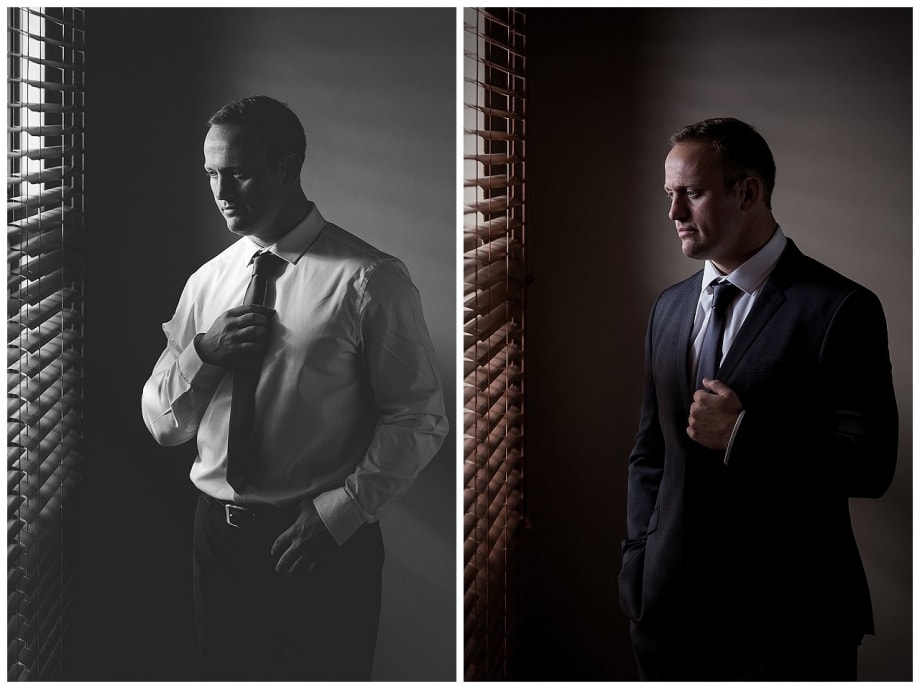
Parabolic Umbrella for indoor Portraits
For more indoor images we used my portable Jinbei HD 600 V light. The Jinbei is an affordable, lightweight solution for wedding photographers who need more than on-camera flash. It is cable-less, with 600 Watt power output, and support High-Speed Sync, which makes it a speedlight on steroids!
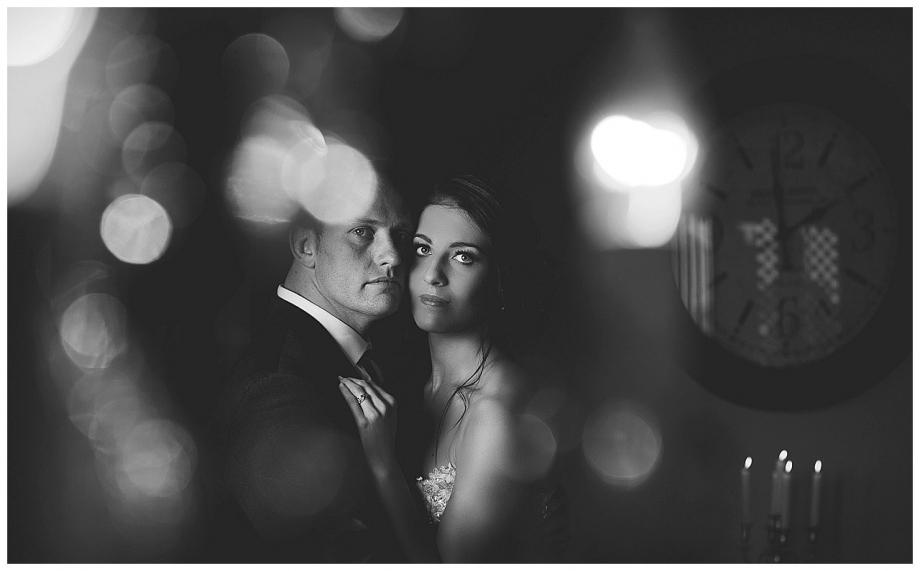
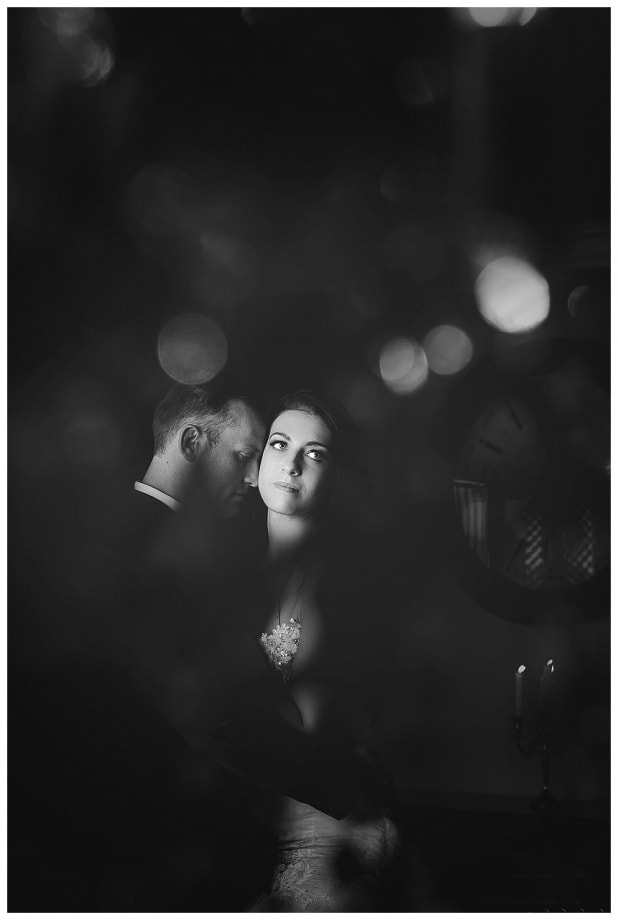
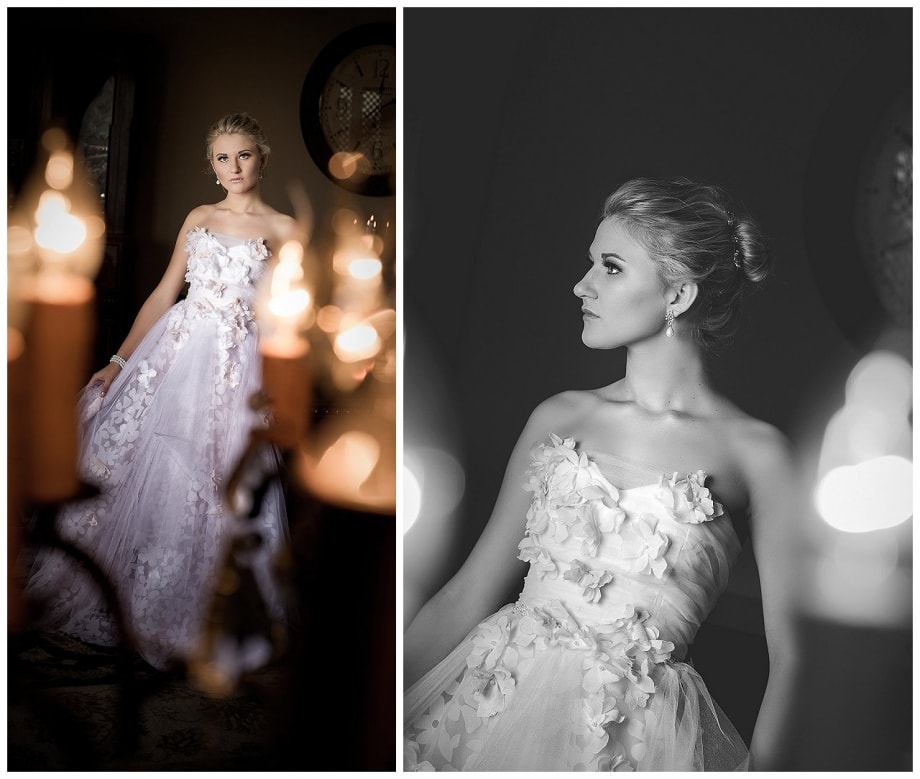
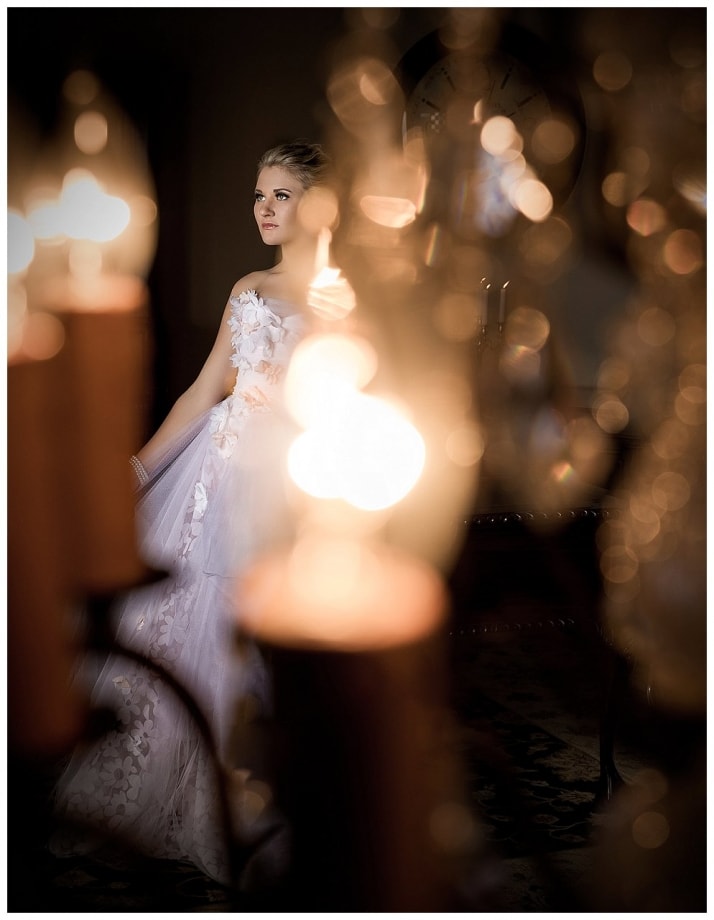
We chose to mimic window light by shooting the Jinbei against a large parabolic umbrella for some of the indoor shots. Some of our favourite images of the day were created with this light setup. What I like about the large umbrella is the fact that it is quite directional, but the light falloff is pretty rapid. Very little spill light escapes onto the background. We simply added a large silver reflector to our model’s back for extra fill and separation. For added drama and flair, we shot some of the portraits through a chandelier using a long focal length and shallow depth of field. 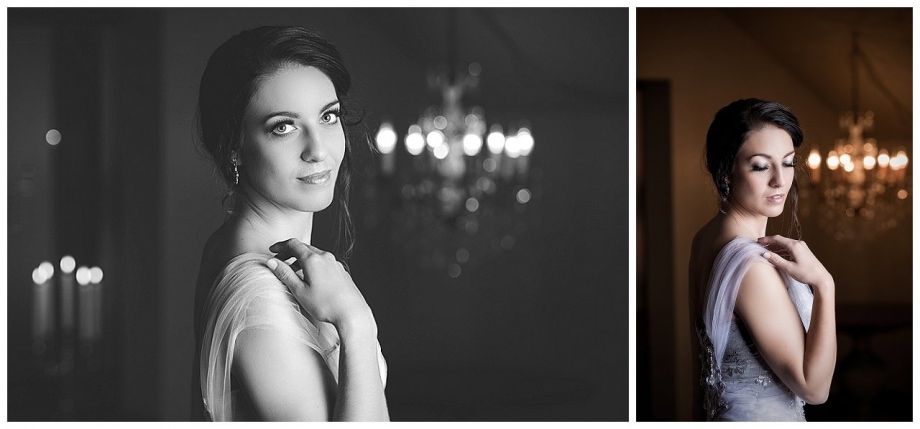
Natural Light Portraits
I demonstrated to the class how you don’t always need an elaborate lighting setup for elegant portraits. We shot a few three-quarter portraits of Jarrod against a beige coloured wall with natural light only. Since it was in the shade, we slightly overexposed our cameras for simple, yet elegant portraits. Afterwards, in Photoshop, I’ve added some textures to the background. Finally, I added some eye-candy by creating a Lightroom preset which was applied to complement these portraits…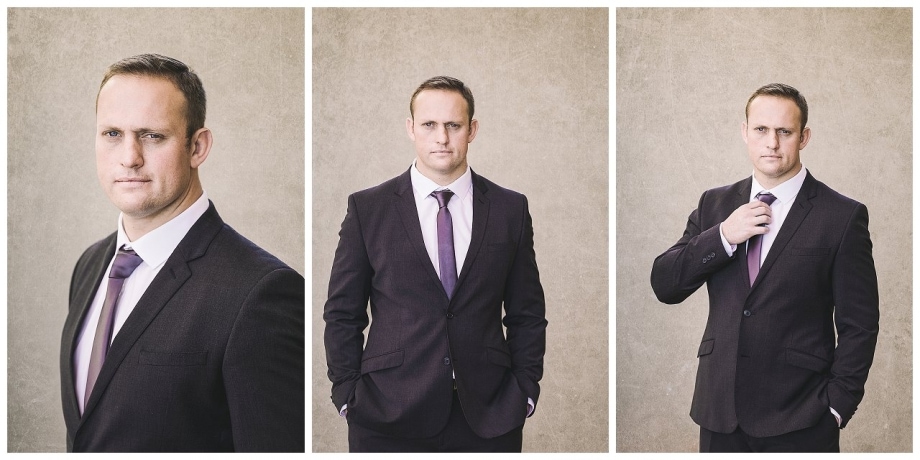
Using Reflectors
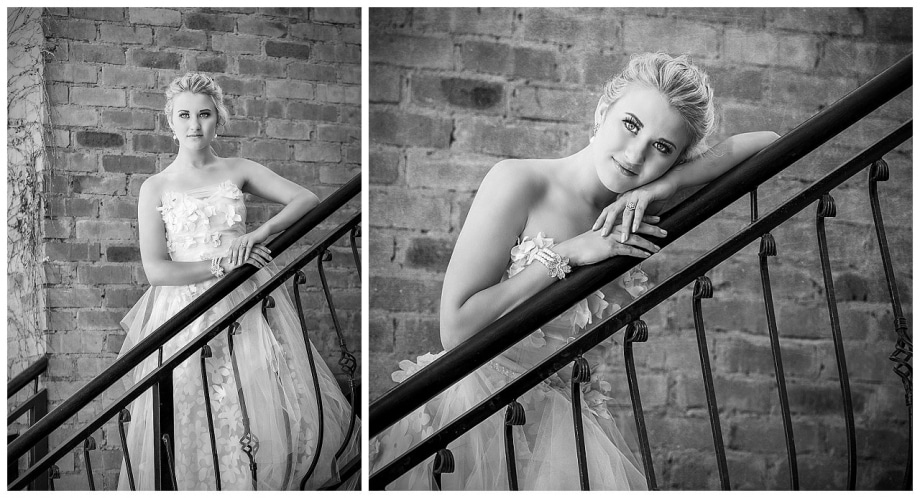
I showed the class how easy it is to underexpose the camera and then adding a large silver reflector (Lastolite Skylite 2x1m) to punch some light back into our subjects. Here are a few samples of outdoor portraits where we used only a silver reflector. In some instances, we also added a diffuser to soften direct sunlight hitting our model’s faces, from the opposite side.
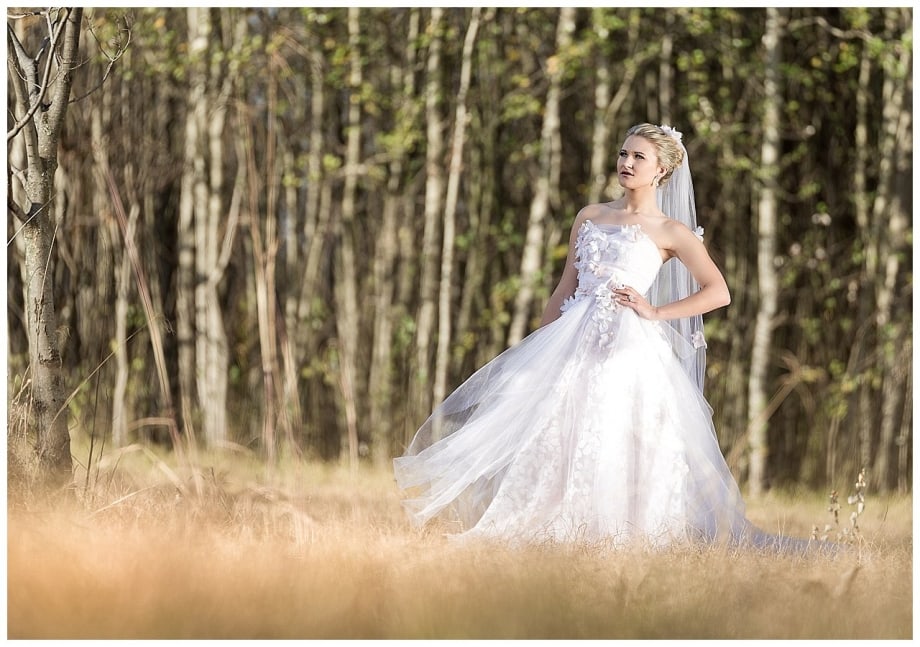
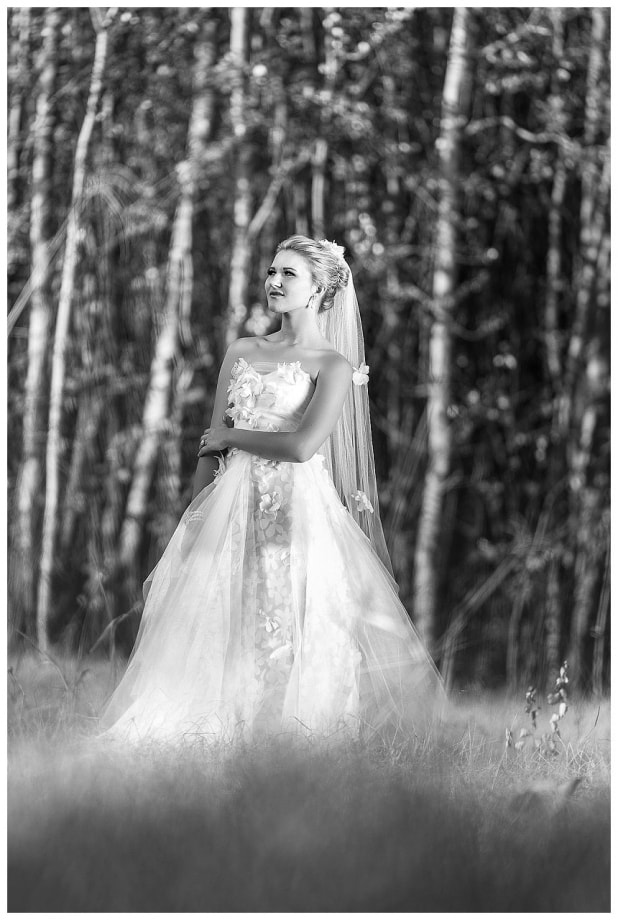

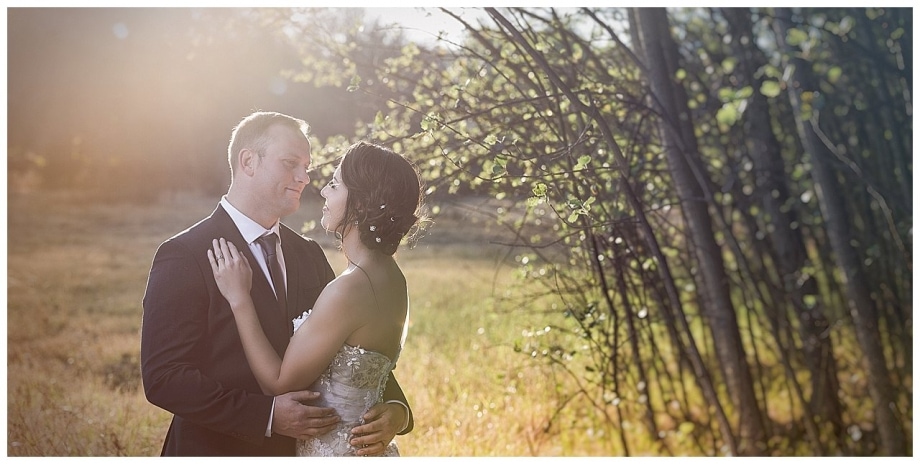
High-key images, shooting straight into the sun
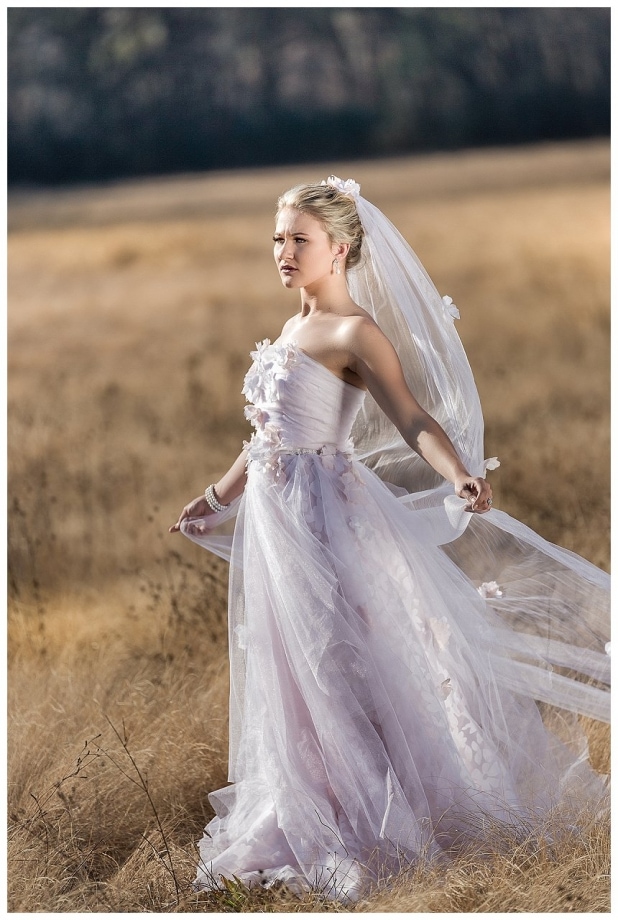
For angelic, almost ethereal portraits, wedding photographers often shoot into the sun for beautiful backlit portraits. Shooting in RAW allows you to overexpose the scene in order to prevent your model turning into a silhouette while still being able to pull some of the dress details back in post.
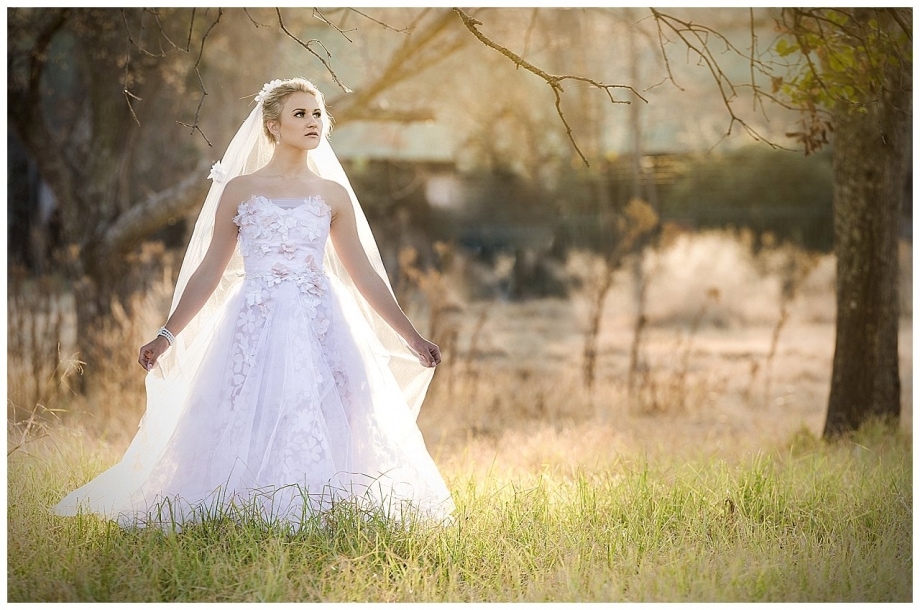
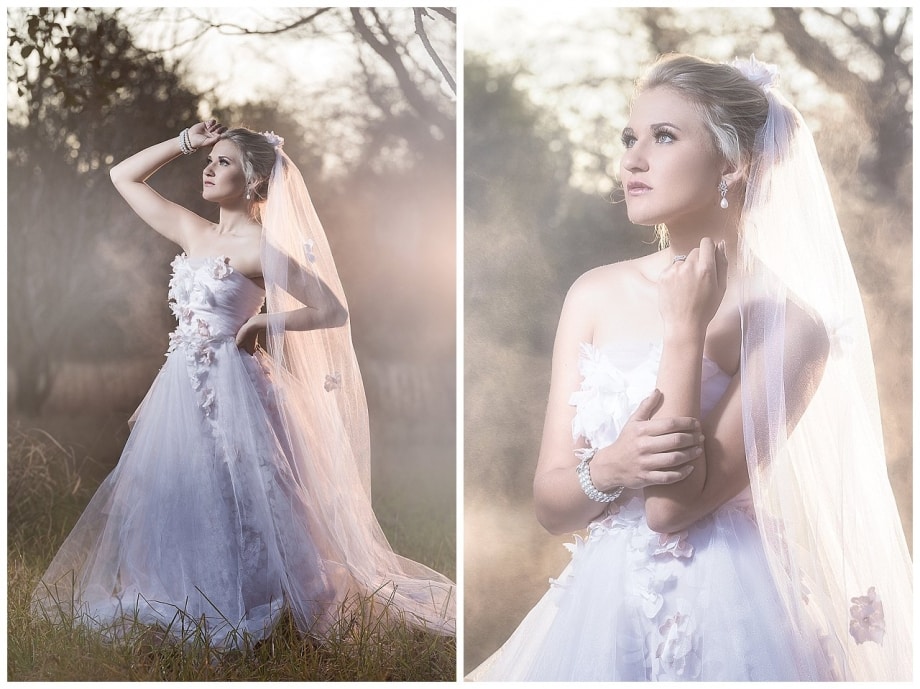
Baby powder!
Using a 2-light – cross lighting setup – a speedlight from the back and a speedlight from the front as key-light while my assistant added baby powder in-between the backlight and our model to mimic fog and mist. The key to these images is to use a really shallow depth of field in order to blur the background and baby powder sufficiently.
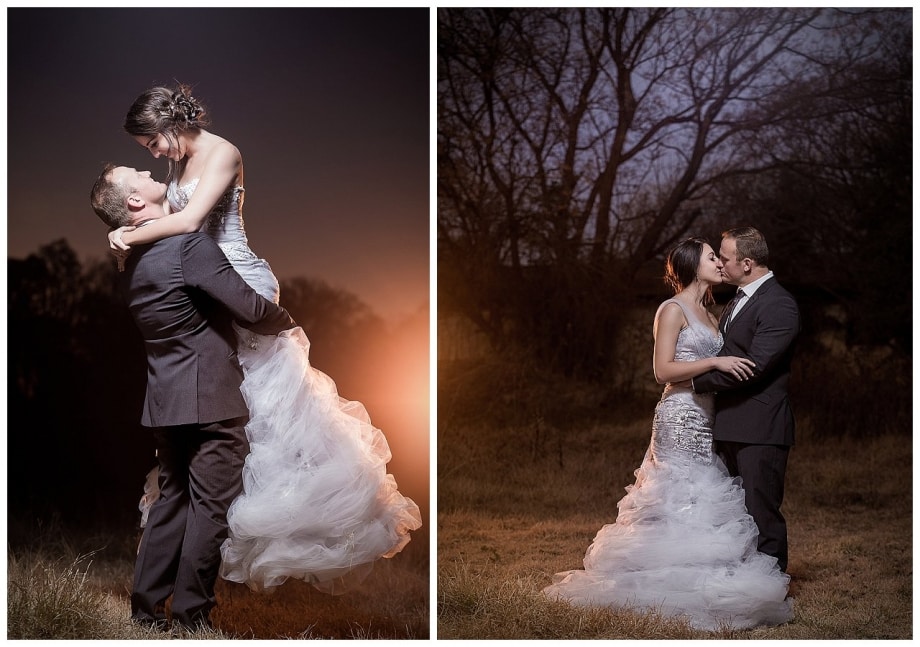
Portraits at Dusk using a 2-light setup
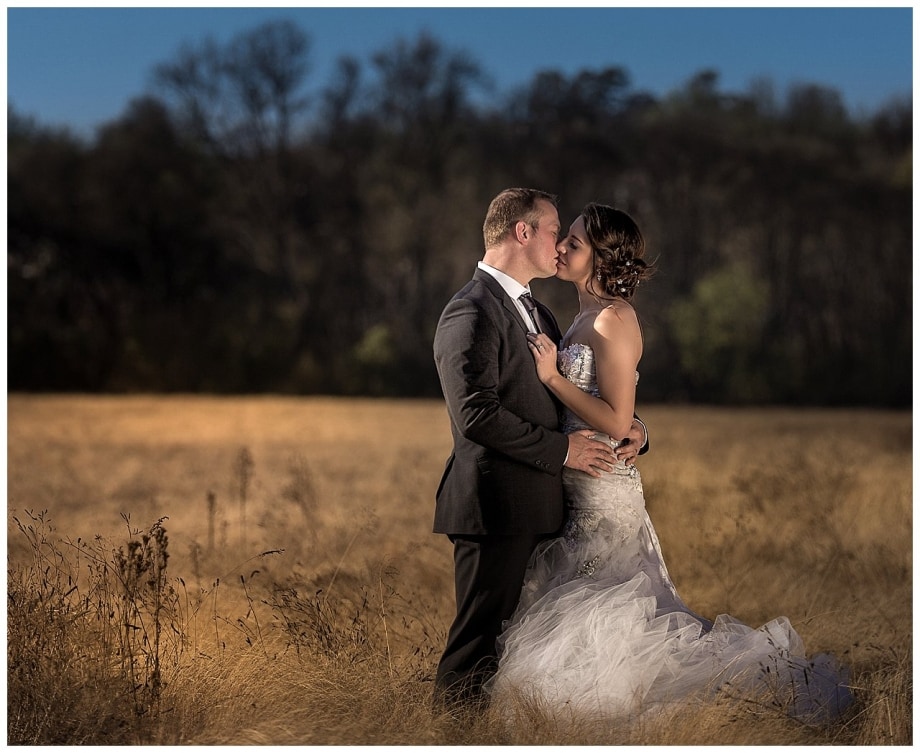
Unfortunately, our location did not offer a proper sunset to shoot into, but we were afforded an opportunity to shoot into a speedlight with tungsten gel for the backlight and a single shoot through umbrella from the front.
Credits
Special thanks to everyone who made it possible!
- Jenna Bester looking after us and the styling and make-up
- Charmaine Goosen from Perfect Occasions for the beautiful wedding dresses
- Rufus Horne, Glen Fouche’ and Mari-lize Bezuidenhout (Assistants)
- Models: Jarrod and Zandré Taylor (Couple) and Tesca Becker
- Warren James and Trompie van der Berg, two of the best wedding photographers in South Africa for sharing their techniques and images


Fantastic work Danie and DPC, this is what quality wedding photography workshop material look like!
Absolutely amazing. Techniques mind blowing.
Fantastic work. Well done to all participants.
Fantastic techniques executed to perfection.