

Your photography equipment is precious and expensive! It should be handled with care. Camera sensors and lenses are susceptible to gather dust and grime. The extra bit of effort to regularly clean your lens and camera’s sensor, can save you time and money and also improve its lifespan…
Looking after your Lenses
Image quality depends as much on your lens as your camera. Below are tips on how to care for your lenses:
1. Remember your lens caps
A lens cap is the simplest way of ensuring your lens won’t get scratched and tremendously reduces the amount of dust it will acquire. Always be sure to have your lens cap on whenever you aren’t taking pictures.
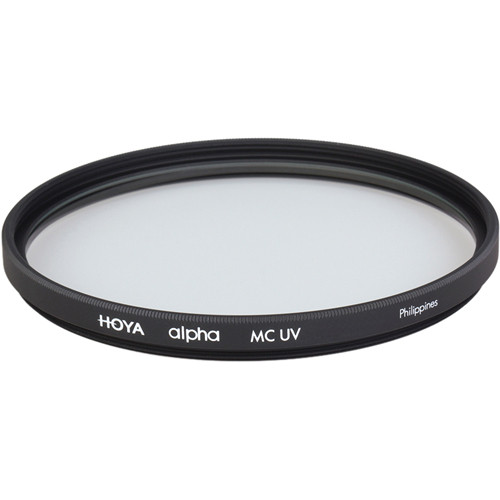
2. Use UV Filters
UV filters are thin circular glass filters that are screwed onto the front of your lenses. They have a dual purpose. Firstly, they block out UV Light and removes blue colour casts from photos taken in very bright sunlight. Unfortunately, cheaper, low-quality UV filters, might introduce flare and ghosting; especially when shooting into strong artificial lighting. It is, therefore, important that you buy good quality filters. Apart from quality issues, camera retailers will often sell you a UV filter, because they provide some form of protection for your lenses. They can effectively protect your front lens element from scratches, smudges, or cracks. If you accidentally drop your camera or hit something with your lens, you would rather the filter crack, than having to pay an exorbitant amount of money to get the lens fixed. The same argument goes for frequently cleaning your lenses. Frequently cleaning the filter, rather than your lens, means less “wear and tear” on the front element. Again, replacing a scratched UV filter is far more economical, than fixing, or replacing a lens!
3. Use a Lens Hood
The main purpose of lens hoods, are to reduce lens flare and increase the contrast in your photos. Then also, using a lens hood is perhaps the safest ways of protecting your lens. In combination with a lens cap and UV-filter, it will provide double the protection from accidental bumps or drops. Even though a lens with a long focal length will receive the most benefit from a lens hood, it is still recommended to use it on any size lens.

4. Cleaning your Lenses
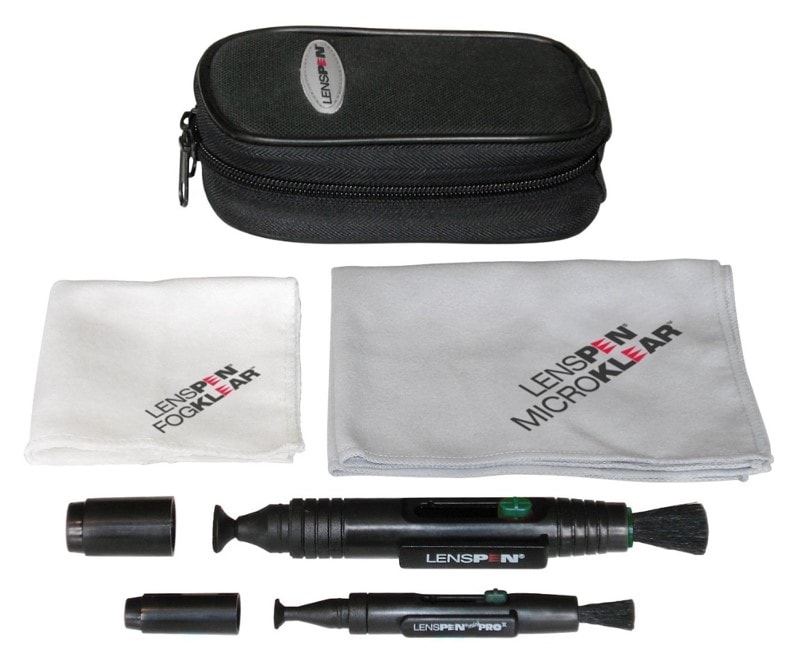
We recommend that you buy a proper lens cleaning kit, which consists of a lens pen, a dust blower, a micro fibre cloth, and sometimes alcohol swaps.
Start in a well-lit area as it will help you see dust and smudges on your lens. Use the blower or a can of compressed air to blow dust and sand off the front element. This gets rid of particles that would otherwise act like sandpaper when you wipe the lens with a micro fibre cloth. Try blowing at a shallow angle so that the particles will blow off and away from the lens, preventing it from being driven further down. When using a can of compressed air, first point the can away from the lens in case liquid comes out. Then bring the jet of air to where you want it, always keeping the tin upright to prevent any fluid from coming out.
Next, use a micro fibre cloth to wipe the lens clean. Gently, without pushing too hard, start wiping from the middle, moving in growing concentric circles out towards the edges. If you have fingerprints or other dirt, like mud, moisten the cloth with lens cleaner solution or alcohol swabs bought at a pharmacy. Be aware that the lens surface has multiple thin layers of coating to boost light transmissions and reduce aberration and flair. These are very thin and very sensitive. As suggested earlier, a UV filter may help protect your lens as it is better to clean the filter, instead of causing the front element to suffer from the continuous friction of repeated cleaning. When you are done, inspect the rear element of the lens and repeat the process if necessary.
Remember to always clean your lens cap, in case there is any dust that wants to fall on your freshly cleaned lens when you reattach it. This can be done by blowing it out, or by using a clean soft paint brush to remove the dust.
Keeping your Camera Sensor Clean
1. Avoiding Dust and Grime getting on the sensor
Dust specks, and sometimes grime, make it onto your camera sensor when you swap lenses out in the open. Your sensor is especially susceptible to pick up dust and grime when shooting in windy and dusty environments. These dust specks will often show up in your pictures, which means you will have to painstakingly clone them out in post processing. This can be very time-consuming and you should take special care to prevent dust and dirt making it into your camera.
Here are a few basic tips to help you keep the sensor dust free:
- Do not take off your lens every time you put the camera away. Rather leave your favourite lens on the camera and only take it off, if you’re swapping it with another lens.
- When swapping lenses, first turn off the camera. This reduces the static charge on the sensor, which can attract dust.
- Swap out lenses inside the camera bag and remember to vacuum the camera bag regularly.
- If you’re out shooting in dusty, or windy conditions, make it back to an enclosed area, such as your vehicle, before swapping lenses.
2. Take your Camera regularly to a service centre for cleaning
Most modern cameras are able to clean the sensor by using built-in ultrasonic vibration, which shakes the sensor to knock off dust. Typically, the camera will “self-vibrate” every time you switch your camera on, and off. This may help if you have picked up a little bit of dust, but it is unfortunately not thorough enough to remove grime, particles, or excess dust. If you cannot get rid of dust through using the automatic sensor cleaning method, we recommend that you take your camera into your camera brand’s local service centre. Sometimes, there might be so much dust floating inside the camera, that it will be best for them to dismantle all the parts and clean it properly. In such cases, you will have to leave your camera body at the service centre for a few days. Most of the time, however, your camera will simply need a blowout, which means the technician can clean it while you wait.
Below are the telephone numbers and addresses of service centres of popular brands supported in South Africa:
-
Canon and Pentax, SA:
- Camera Tek
Unit E3
Tungsten Road
Strijdom Park
(011) 251-2400
- Camera Tek
-
Fujifilm SA:
- Building 18
The Woodlands Office Park
140 Western Service Road
Woodmead 2191
011 430 5400
- Building 18
-
Nikon SA:
- Premium House
Grey Owl Shopping Center
Erasmus Drive
Louwlardia, 0157.
(087) 285-3300
- Premium House
3. Cleaning the sensor yourself
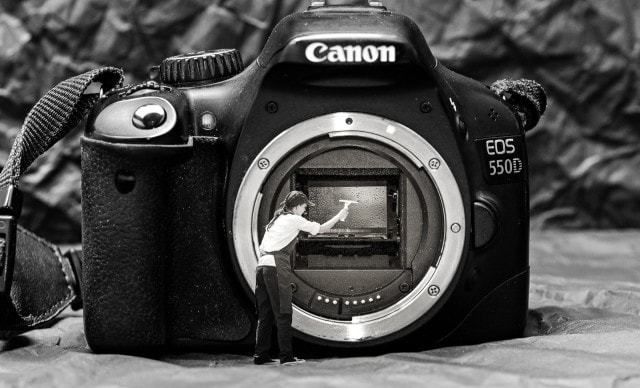
Only the very brave should read on! Avoid cleaning the inside of your camera yourself. Some people we know – we will not name anyone, for the sake of embarrassment – have tried to clean the insides of their cameras with cotton buds and brushes. All we can say is that you will make it even worse; leaving fluff and brush hair behind, while scratching your mirror and focus screen.
Some seasoned photographers take the RISK of cleaning their own sensors. We think it insane, but if your sensor picked up unwanted dust and grime when you’re out in a remote place; you might just be forced to get your hands dirty and clean the old sensor yourself.
Warning!
Manually cleaning your camera’s sensor is a risky affair. If you cannot get rid of dust and grime through using the automatic sensor cleaning method, we recommend that you take your camera into your camera brand’s local service centre. If you decide to manually clean the sensor, you do so at your own risk.
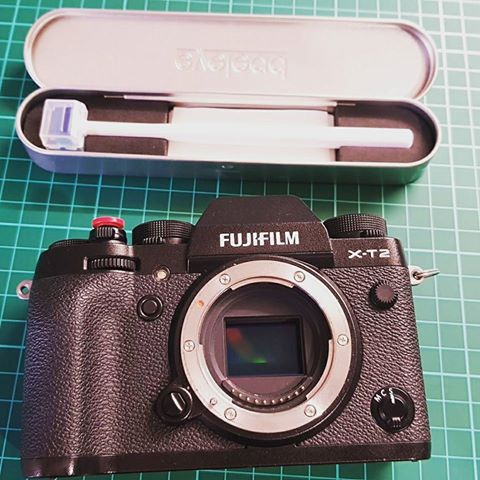
Inadvisable, but in case you are inquisitive and would like to know how some of the pros do it themselves, here is a quick walk-through:
- Get yourself a third-party sensor cleaning kit – We recommend the Zeiss Sensor Cleaning Kit from Outdoorphoto.
- Make for a dust-free, windless and enclosed area and close the windows and the doors!
- Do not wear fluffy clothes; and since you are risking your camera’s life, put on a mask!
- Read all the instructions for third party sensor cleaners carefully.
- Most cameras will have a Manual Sensor clean option, which you can select in the Menu.
- This process involves the mirror lock-up moving the mirror into an upper position, which causes the shutter to lift and your precious sensor to be exposed.
IMPORTANT!! Be extremely careful not to touch the sensor and avoid using compressed air from a can, as it can damage the sensor.
When you are done, switch off your camera to return the shutter and mirror to their default position and then place your lens back onto the body. To test if the sensor is clean, take a photo of the clear blue sky, open the image in Photoshop and apply auto levels. This will push up the contrast to a point where dirt will show up extremely visible.
If you find lots of dirt, start the process all over again having taken note of where the dust was on the sensor. Be mindful when changing lenses as to not inadvertently get more dust back onto the sensor. Do it in an area of little dust and make the swap as fast as possible, while leaving the camera’s insides exposed for the shortest time possible.
WANT TO LEARN MORE? Click HERE to subscribe to DPC for our monthly newsletter and other informative photography tips and articles…
thanks for the info shawn . I got a cleaning kit and uv filters but i need lens hood for all my lenses.
Thank you so much for sharing this amazing article.
The very informative post you share. As a photographer, the wonderful solution.
so much thanks for sharing this useful post !! this information will really help me a lot to clean my camera sensor lenses. i will definitely follow all these tips to save my camera lenses from dust.
I really liked your tip to take your camera to a professional to get cleaned, and also keeping it in a camera bag can keep it clean. I need to get my camera cleaned because I was not using a camera bag while I was travelling. I will be sure to buy a bag soon after I get it cleaned, so I can keep it clean and safe.
I love the photo named “Cleaning your camera sensor ” ☺ Thank you for very useful infomation.
Thanks for the insights.
Thank you for the tips..always good to be reminded, if not learning something new
Love those tips you gave. I certainly need to change a few habits of mine such as leaving lens cap off thinking as long as no one touches it won’t get dirty and always changing lens before packing away as my camera bag is too small.